
Tutorial on How to Clean Install Windows Vista or over Windows Vista / XP / 2000 / ME / 98 (With Screen Shots)
Version 0.50
This article shows how to install Windows Vista with everything in your hard drive wiped. This means that documents, e-mails, photos, shortcuts, programs, etc will ALL be deleted and erased!
DISCLAIMER: Proceed at your own risk! The information
here is accurate to the best of my knowledge. I will not be held
responsible if this document causes your computer to explode or
burst into flames. In real serious terms, if any corruption of
data, hardware damage or any other kind of damage/losses/etc.
arises from the use of this document, I will not be responsible
for it. If you don't like this, please don't read any further.
Is this document intended for you?
- You want to install Windows Vista with EVERYTHING in your computer erased
- You have made a backup of all important stuff in your hard drive to an EXTERNAL media (i.e. external hard drive, DVD discs, etc)
- You have done your necessary homework to ensure that your hardware is compatible with Vista
Step By Step Guided Installation with Screen Shots
Insert the Windows Vista Installation CD/DVD and restart your PC. Look for the prompt. When it appears, hit the ENTER key on your keyboard. |
 |
|
Windows Vista will start loading files from the CD/DVD... |
... and continue loading ... |
 |
|
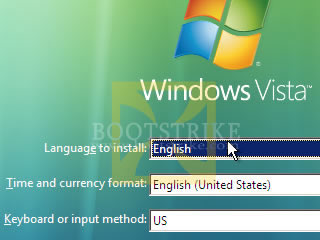
.. and finally loaded ...! Select your appropriate language, time and currency format. For most of us, the defaults already suffice. Click Next. |
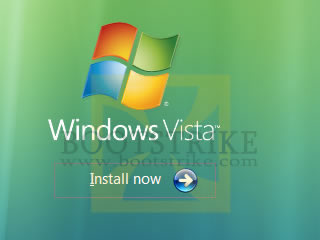
Click Install Now... |
 |
|
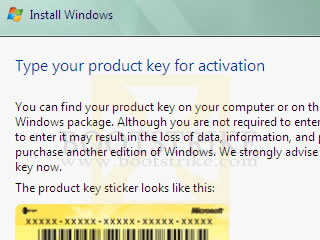
Vista Setup checks and requests for a Product Key. Key it in and click Next |
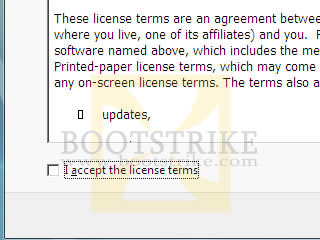
Legal stuff.. place a checkmark at the appropriate place and click Next |
 |
|
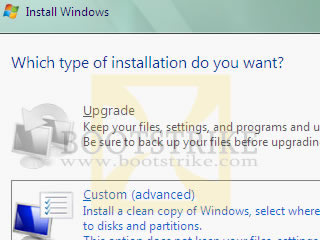
You don't have any choice here. Click Custom (advanced) |
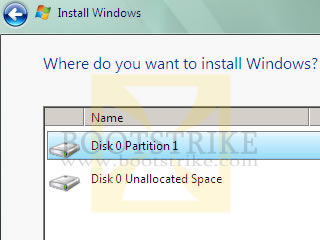
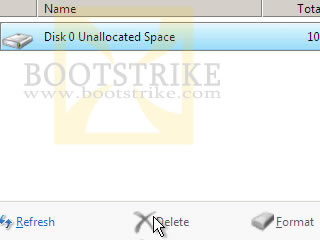
Here's where things get a bit technical.
|
 |
|
With only one partition left, select it and click Next to proceed |
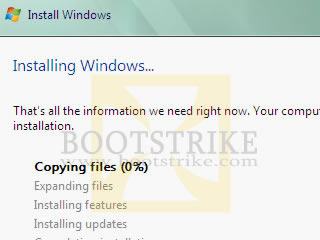
That's it - Vista has all the information it needs. It will now take onto auto pilot mode :) You are able to see the progress and the current activity is highlighted in bold. During this process, your system will restart automatically a number of times. |
 |
|
Finally, completing installation... |
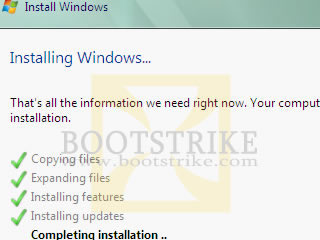
... and it is done!
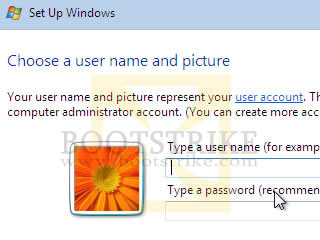
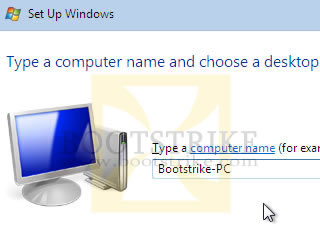
You can always change your password and picture later on, but not your username. So type in wisely as it will be shown in the Welcome screen and Start menu. |
 |
|
|
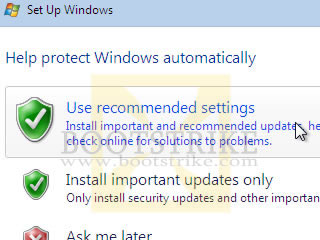
Here you setup Automatic Updates
|
 |
|
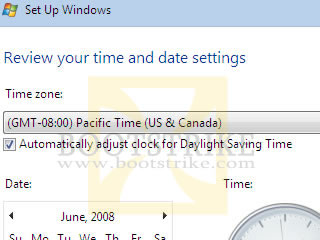
Here you adjust your time zone so that the correct time and daylight saving is used.
|
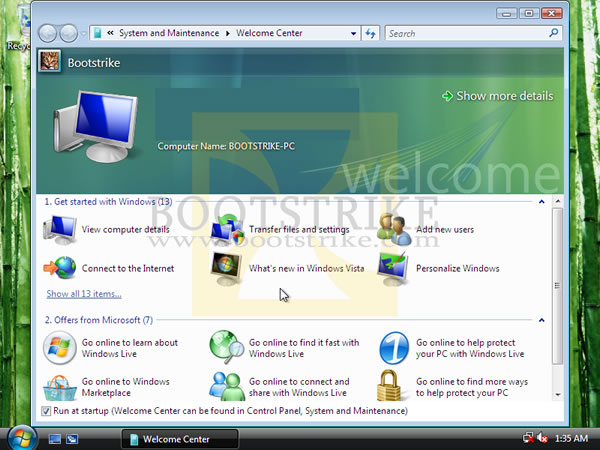
Thank you for installing Windows Vista!
|
 |
|
|

It's Not Over Yet!
- Install Chipset, Video, Sound drivers to utilize the full performance level of your PC. It should have come in a separate CD with your system.
- Install Anti-Virus and Anti-Spyware applications. A firewall is good, but not required - as XP SP2 already comes with one.
- Visit WindowsUpdate.Com and download the latest patches
Revisions
- July 27 2008 - v0.5
- First Release to the public in Bootstrike.Com
Last Updated 27th June 2008.
Errors? Omissions? Need Help? Know something? Post your queries in the Windows Vista Discussion Forum.
This document is Copyright(©) 2001-2008 by G.Ganesh.
| new post | [ expand all ] |
4 comments